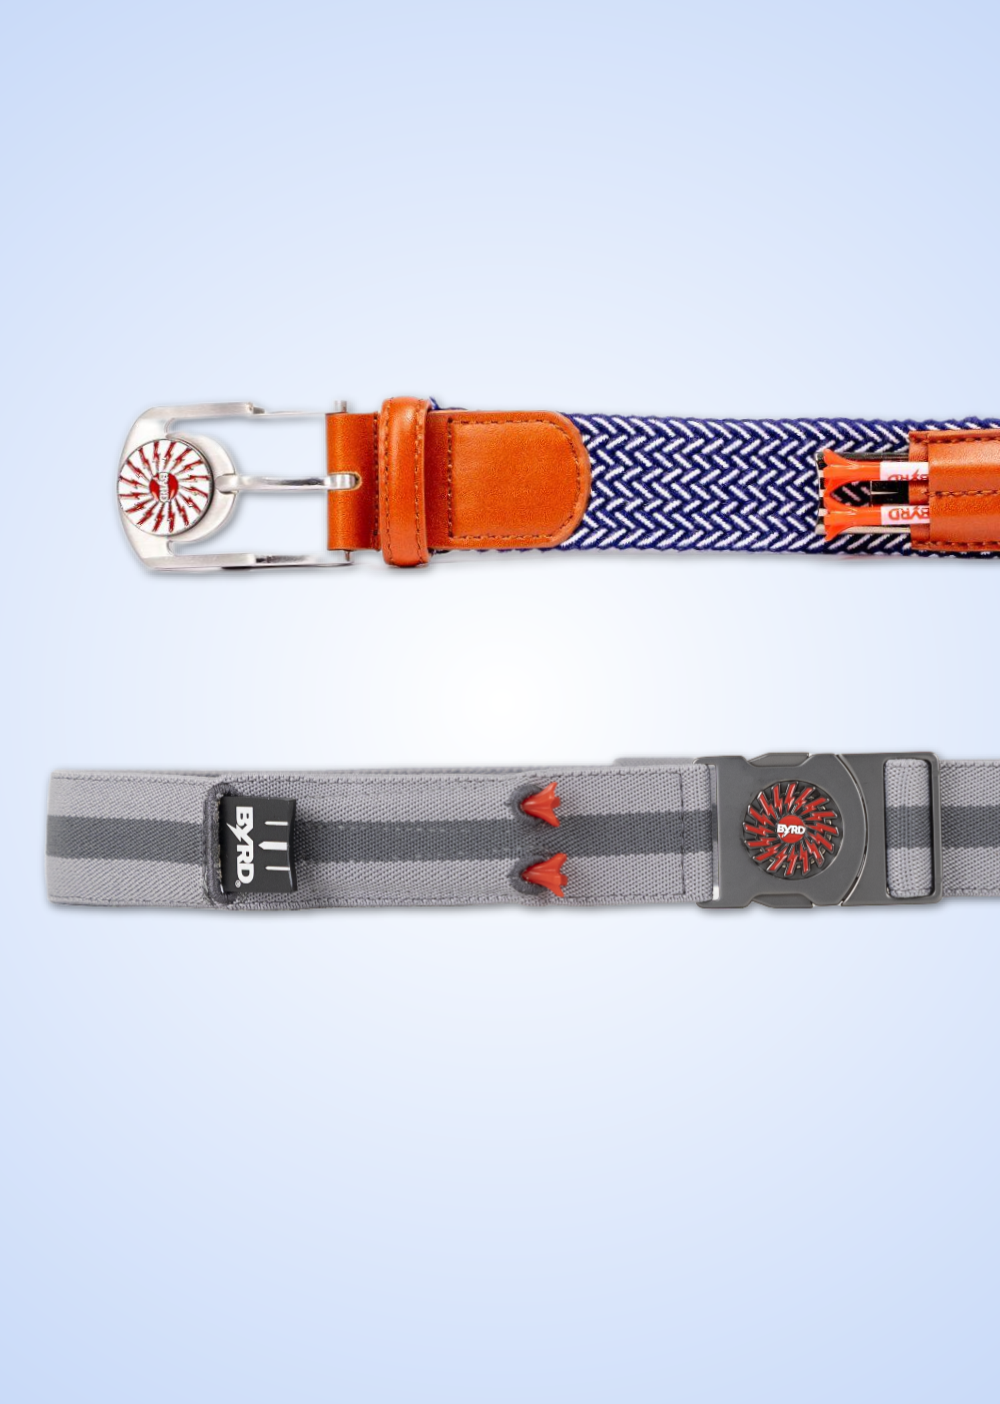
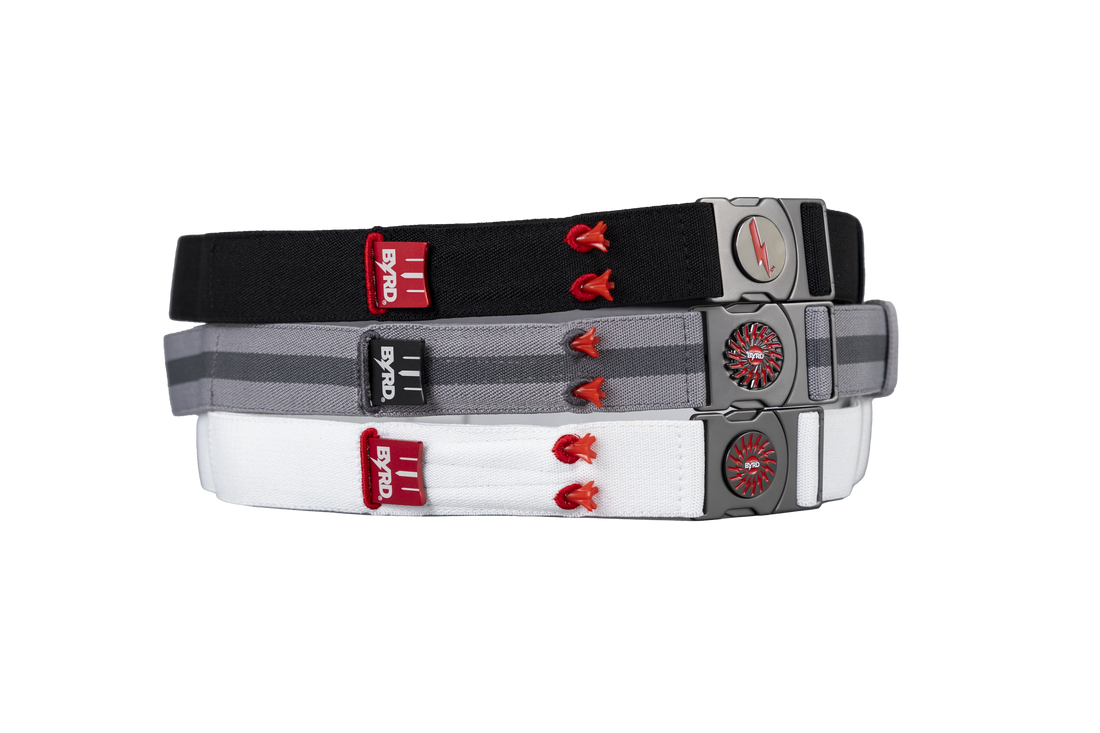
Welcome to THE BYRD GOLF HOW TO SERIES, where we dive into the Byrd Golf gear and how to optimize them for the best on-course experience every round. This series kicks off with The Byrd Golf Belt, a game-changer for golfers seeking both style and functionality on the course. The Byrd Golf Belt is more than just a belt – it’s a useful piece of gear designed to hold your golf essentials securely and comfortably so you are never without tees, ball markers, divot repair tools, gloves, etc. This guide will walk you through how to optimize your Byrd Golf Belt’s usability, from putting it on to cleaning it, so you can make the most of its innovative design.
What Makes the Byrd Belt Unique?
The Byrd Golf Belt isn’t your average belt. With sizes adjustable from 5 to 45 inches, it fits golfers of all shapes. With reversible capabilities and multiple sheaths for holding tees, markers, and other essential golf tools, the Byrd Golf Belt helps you stay organized on the course without compromising comfort or style.
Step 1: Putting It On
1. Adjust the Belt to Your Size
The Byrd Golf Belt can be tailored to fit any golfer with its adjustable length. Set the belt to your desired fit, and make sure it’s secure for comfortable play.
2. Move Velcro loop to the End
To avoid snagging on belt loops, shift the Velcro loop to the male end of the belt. This makes threading it through loops easier and keeps the Velcro from getting caught.
3. Thread the Belt with the Female End First
Start with the female end of the belt and wind it through your belt loops. The unique design of the Byrd Belt, with its smooth edges and perfectly weighted buckle, making this process even simpler.
4. Buckle the Belt
Secure the buckle by connecting the male and female ends. The Byrd Golf Belt’s clasping mechanism ensures a tight fit, so it won’t shift or come undone as you play.
5. Check for Proper Fit and Gear Sheath Positioning
Make any micro-adjustments to ensure a snug, comfortable fit. Pay close attention to the placement of the sheaths—if any are obstructed by a belt loop, slightly adjust the belt until all sheaths are accessible.
6. Add Gear (Last)
Once your belt is on and properly adjusted, place your golf tools (tees, marker, divot tool - save the glove for when you’re on the course) into their respective sheaths. Be sure each tool is fully inserted for a secure hold. After each use, push tools deeply back into place to avoid them loosening during your swing.
Step 2: Using the Byrd Belt on the Course
The Byrd Golf Belt is built for convenience, so using it should be seamless. The belt’s sheaths are designed for a deep, snug fit, meaning your tees, and divot tool won’t fall out while you’re moving. Accessing and replacing these tools is straightforward:
• Marker: Storing your ball markers couldn’t be easier with a heavy duty magnet built into the buckle, just slide it off with your thumb and slap it back on when you’re done using it.
• Tees and Divot Tool: The deep sheaths securely hold tees and the divot tool, making them accessible without the risk of slipping out. Slide them out as needed and push them all the way back in to keep them in place.
Step 3: Wearing the Reversible Belt
One of the Byrd Belt’s standout features is its reversibility. After your round is over you can flip the belt over for a different look without having to take it off. Here’s how to switch styles on the go:
• With Gear Removed: If you want to store your gear back in your bag after your round, take out your tools and flip the belt while you’re wearing it to show the reverse side.
• With Gear Left In: If you want to keep your tools in place, simply roll the belt over while it’s around your waist. This quick-change feature lets you switch things up for a fresh look during or after your round.
Step 4: Cleaning the Byrd Belt
Keeping your Byrd Gold Belt clean is essential to maintaining its longevity. Here’s the proper way to clean it:
• Hand Wash Only: To preserve the belt’s materials and structure, avoid machine washing. Instead, hand wash the belt with a mild detergent and rinse thoroughly.
• Air Dry: Allow the belt to air dry completely before using it again. Avoid exposing it to direct sunlight for extended periods, which can affect the belt’s color and elasticity.
Wrapping Up & Key Takeaways
The Byrd Golf Belt is an essential accessory for golfers who want style, convenience, and functionality on the green. With this guide, you now know how to maximize the usability of your Byrd Belt—from fitting it just right to using its innovative features on the course. Remember, a well-organized golfer is a confident and focused golfer. Keep your tools within reach, stay comfortable, and focus on your game!
The two key takeaways from this post are:
- Move the Velcro belt loop all the way to the female end of the belt prior to putting it on. You can readjust it later.
- Push the tees and divot repair tool all the way into their sheaths to ensure maximum security.
Clear your pockets, and your mind with The Byrd Golf gear.


